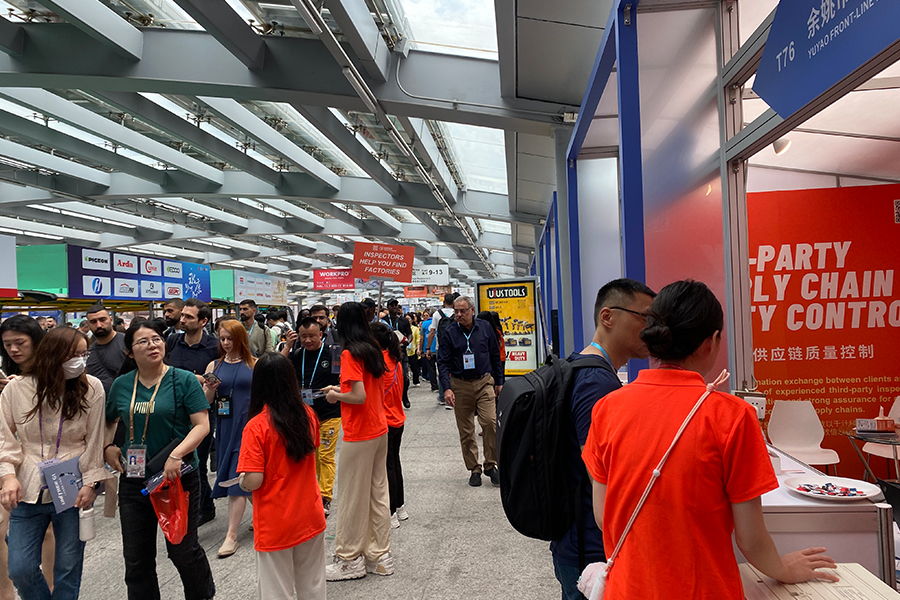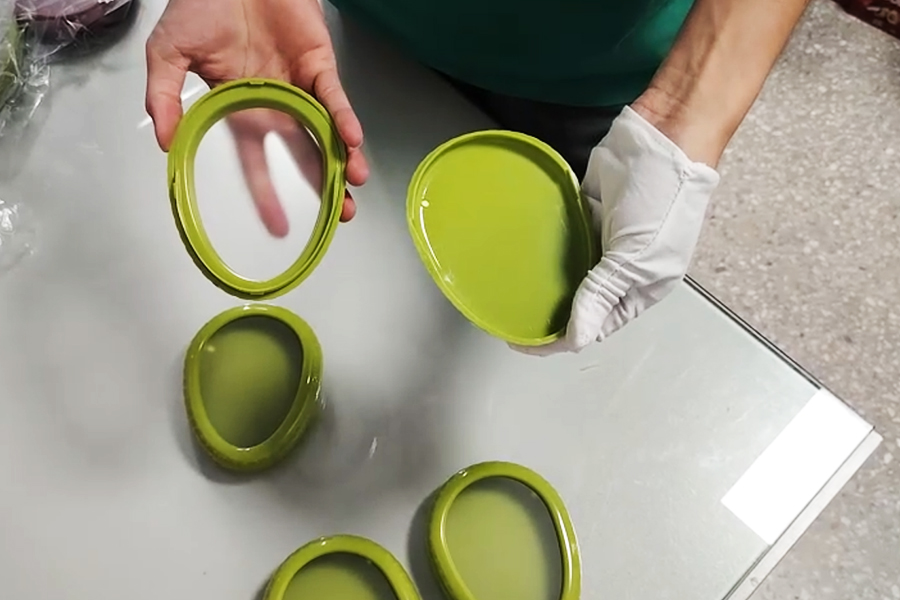
The global canvas bag market was worth roughly $1.1 billion in 2025 and is projected to reach $1.43 billion by 2030 (Data Sources) — eco-conscious consumption and plastic-free retail trends are pushing more bulk orders into production. More orders, more failures: a confirmed sample of 12 oz 100% cotton canvas arrives as 10 oz fabric in the mass production; a screen-printed logo peels off after the first wash; a handle tears open after a few trips with heavy loads. None of these defects needs a laboratory to be detected — a trained third-party inspector can catch every one of them on the factory floor or in the warehouse, before the container is sealed.
This article walks you through the complete on-site canvas bag inspection workflow: the six-step inspection route from arrival to report — what is checked at each step, how, and how it is judged.
Why Canvas Bags Need Their Own Inspection Logic
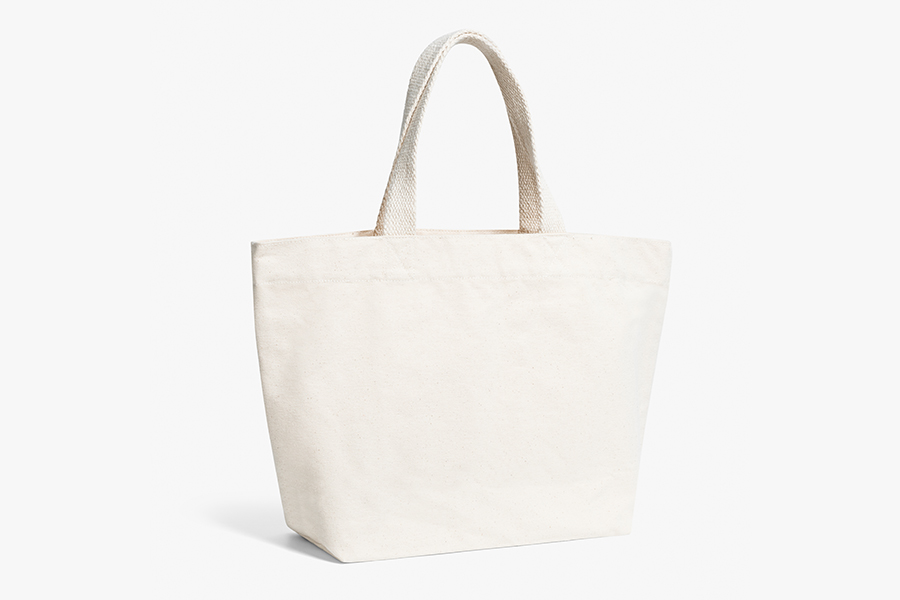
Canvas tote bags look simple: a few panels, two handles, at most a print. But the simplicity is an illusion. Compared with PU and nylon bags, canvas bags fail in completely different ways, and the problems concentrate on a small set of features:
| Canvas-specific risk | Why it matters | Where it shows up in the inspection |
|---|---|---|
| Fabric weight drift (oz / gsm) | A 12 oz spec made as 10 oz looks similar to the eye, but body stiffness and durability drop sharply | Step 1: fabric rolls |
| The print is the product | Promotional and branded bags are sold on their artwork — fading or misregistration triggers returns | Incoming print & finished goods checks |
| Reinforced sewing points | Handles and corners carry the whole load; without bar-tacking they tear within weeks | Step 2: sewing line |
| Shade variation | Natural cotton canvas commonly varies between rolls and batches — buyers spot it immediately | Roll-to-roll & confirmed-sample comparison |
| Low tolerance for defects | Retail and e-commerce channels return defective canvas bags without hesitation | Final appearance inspection |
If you have read our Bag Inspection Guide, this article takes a different angle: it focuses on what an inspector can verify on the day of the visit, using hands, tools and a tape measure — no lab bench required.

Before the Walkthrough: 5 Minutes of Document Verification
Inspection does not start with fabric; it starts with documents. Every pass/fail judgement made later in the workshop will be argued against these files:
- Purchase order & specification sheet — the agreed fabric weight, dimensions, hardware type and packing method
- Confirmed sample (golden sample) — the physical reference for shade, print and workmanship
- AQL sampling plan — the agreed defect classes and inspection level (see the judging section below)
- Defect definition sheet — what counts as a critical, major or minor deviation, agreed in advance
- Inspection report template — keeps the recording standard consistent
Skipping this step is the most common reason a perfectly clear defect turns into a two-hour argument at the packing table.
Step 1 — Fabric & Cutting: The Fabric Roll Station
The first stop is at the fabric rolls, before or while the cutting line starts running. This station answers only two questions: “Is this the fabric we approved?” and “Is the whole lot consistent?”
- Fabric weight. The spec sheet states the ounce count or gsm. As an on-site reference: 12 oz cotton canvas usually weighs about 340–360 g/m². If the measured weight is clearly below the confirmed sample (roughly more than 1 oz under spec), this is not a cosmetic issue — it is a material deviation that changes the bag’s drape, stiffness and behaviour under heavy loads.
- Shade consistency. Compare head-to-tail within a roll, between rolls, and against the confirmed sample. Canvas is a natural fibre — shade variation between batches is common and must be flagged before cutting, not discovered after sewing.
- Weave and surface defects. Check for holes, weaving faults, slubs, stains and skewing. A full-width defect near the centre of a roll is more serious than an edge defect — it ruins the whole panel.
- Incoming printed fabric (when fabric is pre-printed). Verify pattern registration, ink coverage and adhesion; take a corner sample and lightly scratch it with a fingernail as a quick check.
| On-site check | Method | Red flag |
|---|---|---|
| Weight | Sample and weigh (g/m² or oz/yd²) | More than 1 oz below the confirmed sample spec |
| Shade | Visual comparison against confirmed sample; head-to-tail within roll | Visible shade step between rolls |
| Weave | Hand-turn exposed fabric roll by roll | Holes, slubs, skewing, stains |
| Incoming print | Registration check + fingernail scratch test | Misregistration or ink lifting |
Step 2 — Sewing & Construction: The Sewing Line
A canvas bag is held together by its stitching, which makes sewing the densest inspection stage of the whole route.
- Stitch density. Most canvas bags use lockstitch at 6–8 stitches per inch. Too few stitches and seams open under load; too many and the fabric puckers, or the thread itself weakens the seam.
- Reinforcement (bar-tacking). Load-bearing points — handle attachments, bottom corners, shoulder-strap seams — must have bar-tacking or reinforced stitching. Missing reinforcement is the most common structural defect in canvas totes and can be confirmed by eye in seconds.
- Stitch tension and quality. Check long seams such as the top edge and side gussets for puckering, skipped stitches, thread breakage and uneven tension.
- Symmetry. Both handles must match in length and sit centred; front and back panels must align at the side seams; the inner pocket must be square.
- Thread trimming. Loose threads must be trimmed. On retail-grade totes, untrimmed threads count as a minor defect; on premium or promotional orders, buyer specs may upgrade this to major.
Step 3 — Hardware & Closures: The Assembly Station
If the bag has zippers, snaps or metal hardware, this station verifies every one of them — every sampled unit is tested.
- Zippers. Open and close each zipper fully; run at least 50 cycles on sampled units. Check smoothness of travel, even tooth engagement, whether the slider pulls off the tape easily, and whether the pull tab is firmly attached. Sticking, skipped teeth or separation from the seam is a major defect in any market.
- Magnetic snaps and press studs. Sample several pieces to confirm consistent magnet strength and crisp open/close action — a tote snap that fails to hold is a functional failure.
- D-rings, rivets and eyelets. Check for burrs (which snag clothing), rust or plating loss, and loose rivets. Hardware is often the first thing a customer looks at — and the first thing cheap fittings get wrong.
- Zipper stops and tape guards. Stops must be secure, and the zipper tape guard must be sewn properly so it cannot be caught in the teeth.
Step 4 — Functional Tests: Done at the Warehouse, No Lab Needed
This is the step that surprises first-time buyers the most: the most critical canvas bag tests can be completed on the spot with counterweights, a tape measure and a few minutes — and each one belongs on the mandatory pre-shipment inspection (PSI) checklist.
| Test | Simulated scenario | Quick pass/fail rule |
|---|---|---|
| Load-bearing / lift test | Carrying daily groceries or books | Fill to the spec weight and hold for about 30 seconds; handles and seams must not tear or visibly stretch |
| Handle pull strength | Snatching the handle at a checkout counter | Daily tote handles are commonly specified at 50–100 lb — verify against your spec sheet |
| Zipper cycle test | Months of daily open/close | 50 full cycles with no sticking, skipped teeth or slider detachment |
| Print adhesion (tape test) | Wear and washing in everyday use | Press tape onto the print and peel; obvious ink lifting = fail |
| Low-height drop test | Dropping onto a counter or floor | Fill to spec weight and drop from about 30 cm; seams must not split and hardware must not break |
Many buyers assume every canvas bag lot must go to a laboratory. Lab testing has value for material performance verification and certification — but the batch-level questions that matter on-site (“Is the factory using the right fabric? Is it sewn strong enough? Do the closures work?”) can all be answered on the spot.
Step 5 — Appearance, Dimensions & Finished Goods
Once the structure is verified, the inspector examines the finished goods with a consumer’s eye:
- Dimensions. Measure height, width and depth against the spec sheet and confirmed sample. A common on-site tolerance for totes is about ±1.5% of the specified size (always follow your spec sheet — do not assume).
- Prints and brand elements. Check print position, registration, colour and completeness against the approved artwork. On promotional orders, faded, smudged or misregistered prints are major defects.
- Stains and cleanliness. Check for oil marks, dirt, adhesive residue and foreign matter — nothing hides on canvas, and white or natural-colour totes are especially unforgiving.
- Linings, pockets and internal structure. Verify inner pockets, lining adhesion and internal hardware against the spec.
- Hand feel and body. The weight and texture of the bag should match the confirmed sample — an obviously “thin” feel is a common sign of cost-cutting.
Step 6 — Packaging & Cartoning: Where the Lot Succeeds or Fails
This last step decides whether an otherwise good product arrives intact and sellable.
- Folding and inner packaging. Check the folding method, OPP bags, desiccants and padding against the spec. A missing bag or desiccant may only be a minor defect — but on humid shipping routes, missing moisture protection can downgrade an entire carton.
- Hang tags, labels and barcodes. Check hang tags, care labels and barcodes against the order. Scan with a barcode scanner or phone — any retail channel rejects un-scannable barcodes, which is a major defect.
- Mixed colours and sizes. Check the carton contents against the packing list — mixed colours, mixed sizes or wrong quantities are among the most common reasons a destination warehouse refuses the shipment.
- Carton marks. Verify shipping marks, carton numbers and gross/net weight against the packing list.
- Sampling discipline. Pre-shipment inspections are typically scheduled once the order is 100% produced and at least 80% packed; samples are drawn from sealed cartons randomly selected across multiple pallets — not from a pile of “good units” the factory has prepared.
How the Lot Is Judged: AQL and Defect Classification
Canvas bag inspections almost always use ISO 2859-1 / ANSI/ASQ Z1.4 sampling, general inspection level II, single sampling. The common classification is:
- Critical defects — AQL 0 (zero tolerance): any defect that endangers safety or makes the product completely unusable, e.g. a handle detaching during the load test
- Major defects — AQL 2.5: functional and appearance issues that affect use or sale, e.g. a broken zipper, fabric weight deviation, broken seams, misregistered print
- Minor defects — AQL 4.0: slight appearance issues, e.g. stray threads, light stains
| Lot size (units) | Sample size | AQL 2.5 (Ac/Re) | AQL 4.0 (Ac/Re) |
|---|---|---|---|
| 501–1,200 | 80 | 5 / 6 | 7 / 8 |
| 1,201–3,200 | 125 | 7 / 8 | 10 / 11 |
| 3,201–10,000 | 200 | 10 / 11 | 14 / 15 |
| 10,001–35,000 | 315 | 14 / 15 | 21 / 22 |
When the number of major defects in the sample exceeds the acceptance number, the lot is judged non-conforming — negotiate rework or re-inspection with the factory while the goods are still on site, when rework costs the least.
Top 10 Defects Found in Canvas Bag Lots
| # | Defect | Typical class | What the inspector sees |
|---|---|---|---|
| 1 | Fabric weight below confirmed sample spec | Major | Under-weight measurement; bag body feels thin |
| 2 | Missing or weak bar-tacking at handles | Critical / Major | Only straight stitching at handle attachments |
| 3 | Zipper sticking or skipping teeth | Major | Fails the 50-cycle test |
| 4 | Print ink lifting or misregistration | Major | Ink lifts in tape test; artwork off-position |
| 5 | Shade variation between rolls | Major | Visible shade step under inspection lighting |
| 6 | Skipped or broken stitches | Major / Minor | Puckered or open seams |
| 7 | Rust or burrs on hardware | Major | Corroded rivets, sharp edges |
| 8 | Untrimmed threads | Minor | Loose threads at seams and zippers |
| 9 | Dimension deviation | Major / Minor | Measurement outside agreed tolerance |
| 10 | Mixed colours/sizes or wrong carton marks | Major | Carton contents don’t match packing list |
FAQ: Canvas Bag Inspection
What is canvas bag inspection?
Canvas bag inspection is a batch-level quality check — typically performed as a pre-shipment inspection — in which a third-party inspector verifies fabric, sewing, hardware, functional performance, appearance and packaging against the purchase order and confirmed sample using statistical sampling (usually ISO 2859-1).
What AQL level is used for canvas bag inspection?
The common configuration is zero tolerance for critical defects, AQL 2.5 for major defects and AQL 4.0 for minor defects, at general inspection level II. Premium or promotional programs may be stricter — AQL is an agreement between both parties and should be written into the order.
Do functional tests really not need a lab?
Correct. Load-bearing, handle pull, zipper cycling and print adhesion can all be done in the factory or warehouse with simple tools. Lab testing has value for material certification and long-term durability data, but it cannot replace on-site batch inspection.
When should I book a pre-shipment inspection for canvas bags?
Book it when the order is 100% produced and at least 80% packed, so samples can be drawn from sealed cartons. During sourcing season, book early — inspector schedules fill up fast.
Is canvas bag inspection different from general bag inspection?
The AQL logic is the same, but the canvas-specific checkpoints — fabric weight verification, print adhesion, shade control and handle reinforcement — carry more weight, because that is exactly where canvas totes fail.
Don’t Let Canvas Bag Defects Reach Your Customer
Canvas bag failures tend to happen in small, predictable ways — lighter fabric, a missed bar-tack, a sticky zipper. All of them are visible to a trained inspector hours before the container is sealed, when rework at the factory costs the least and after-shipment recovery costs the most.
Inspector Online provides end-to-end canvas bag inspection — initial production check, during production inspection, pre-shipment inspection and container loading supervision — backed by a network of 3,000+ professional inspectors and 20 years of quality control experience.