Footwear is one of foreign trade’s super-categories: athletic shoes, casual shoes, leather dress shoes, safety shoes, children’s shoes, sandals and slippers — almost every manufacturing cluster produces them. But what hurts this category most is rarely how good the spec sheet looks. The real risk is whether the bulk production matches the approved sample, and whether the workmanship holds up. Inspection, at its core, means standing on the buyer’s side and checking the bulk goods for conformance against the purchase order, the specification sheet, and the sealed/approved sample — verifying “wrong goods vs. approved sample”, workmanship defects, and quantity/packing issues. Following the inspector’s actual on-site sequence, this guide walks through what to check, how to check it, and how to judge it, step by step.
1. Where Footwear Most Often Deviates from the Approved Sample
Adhesive failure (de-lamination / sole separation): the sole detaching from the upper is the most common quality complaint and the most direct hit to wearability. Oven curing time, adhesive type and coating weight, and pressing process can all go wrong.
Material downgrading / substitution: full-grain swapped for split leather, PU or microfiber passed off as genuine leather, recycled EVA in the midsole — the look is close, but strength, rebound and service life fall far short. Only visual check against the sealed sample reveals it.
Workmanship & style deviation: stitch density, colorway, logo position, and left/right symmetry — any slight drift from the approved sample is a non-conformance worth watching closely.
2. The On-Site Inspection Flow (7 Steps)
Inspection can be scheduled before shipment or at a mid-production checkpoint. On the floor, the core is to run the following seven steps against the bulk goods, one by one, as a contract-conformance check:
Sample selection & quantity count: draw a representative sample per AQL or the client’s specified level; first tally the total quantity and confirm the style number matches the order — avoiding short shipment and mixed packing.
Carton / shipping marks: verify the outer carton marks — product name, style number, quantity, gross/net weight, up/down arrows, country of origin, carton dimensions — against the order and packing instructions.
Packing: check the inner box, hangtag, polybag, desiccant, packing method and cushioning protection against the packing spec, to prevent transit damage and mismatched configuration.
Style / model verification: against the approved sample and the workmanship sheet, verify style, colorway, construction and left/right pairing — confirming no “wrong goods vs. sample” issue.
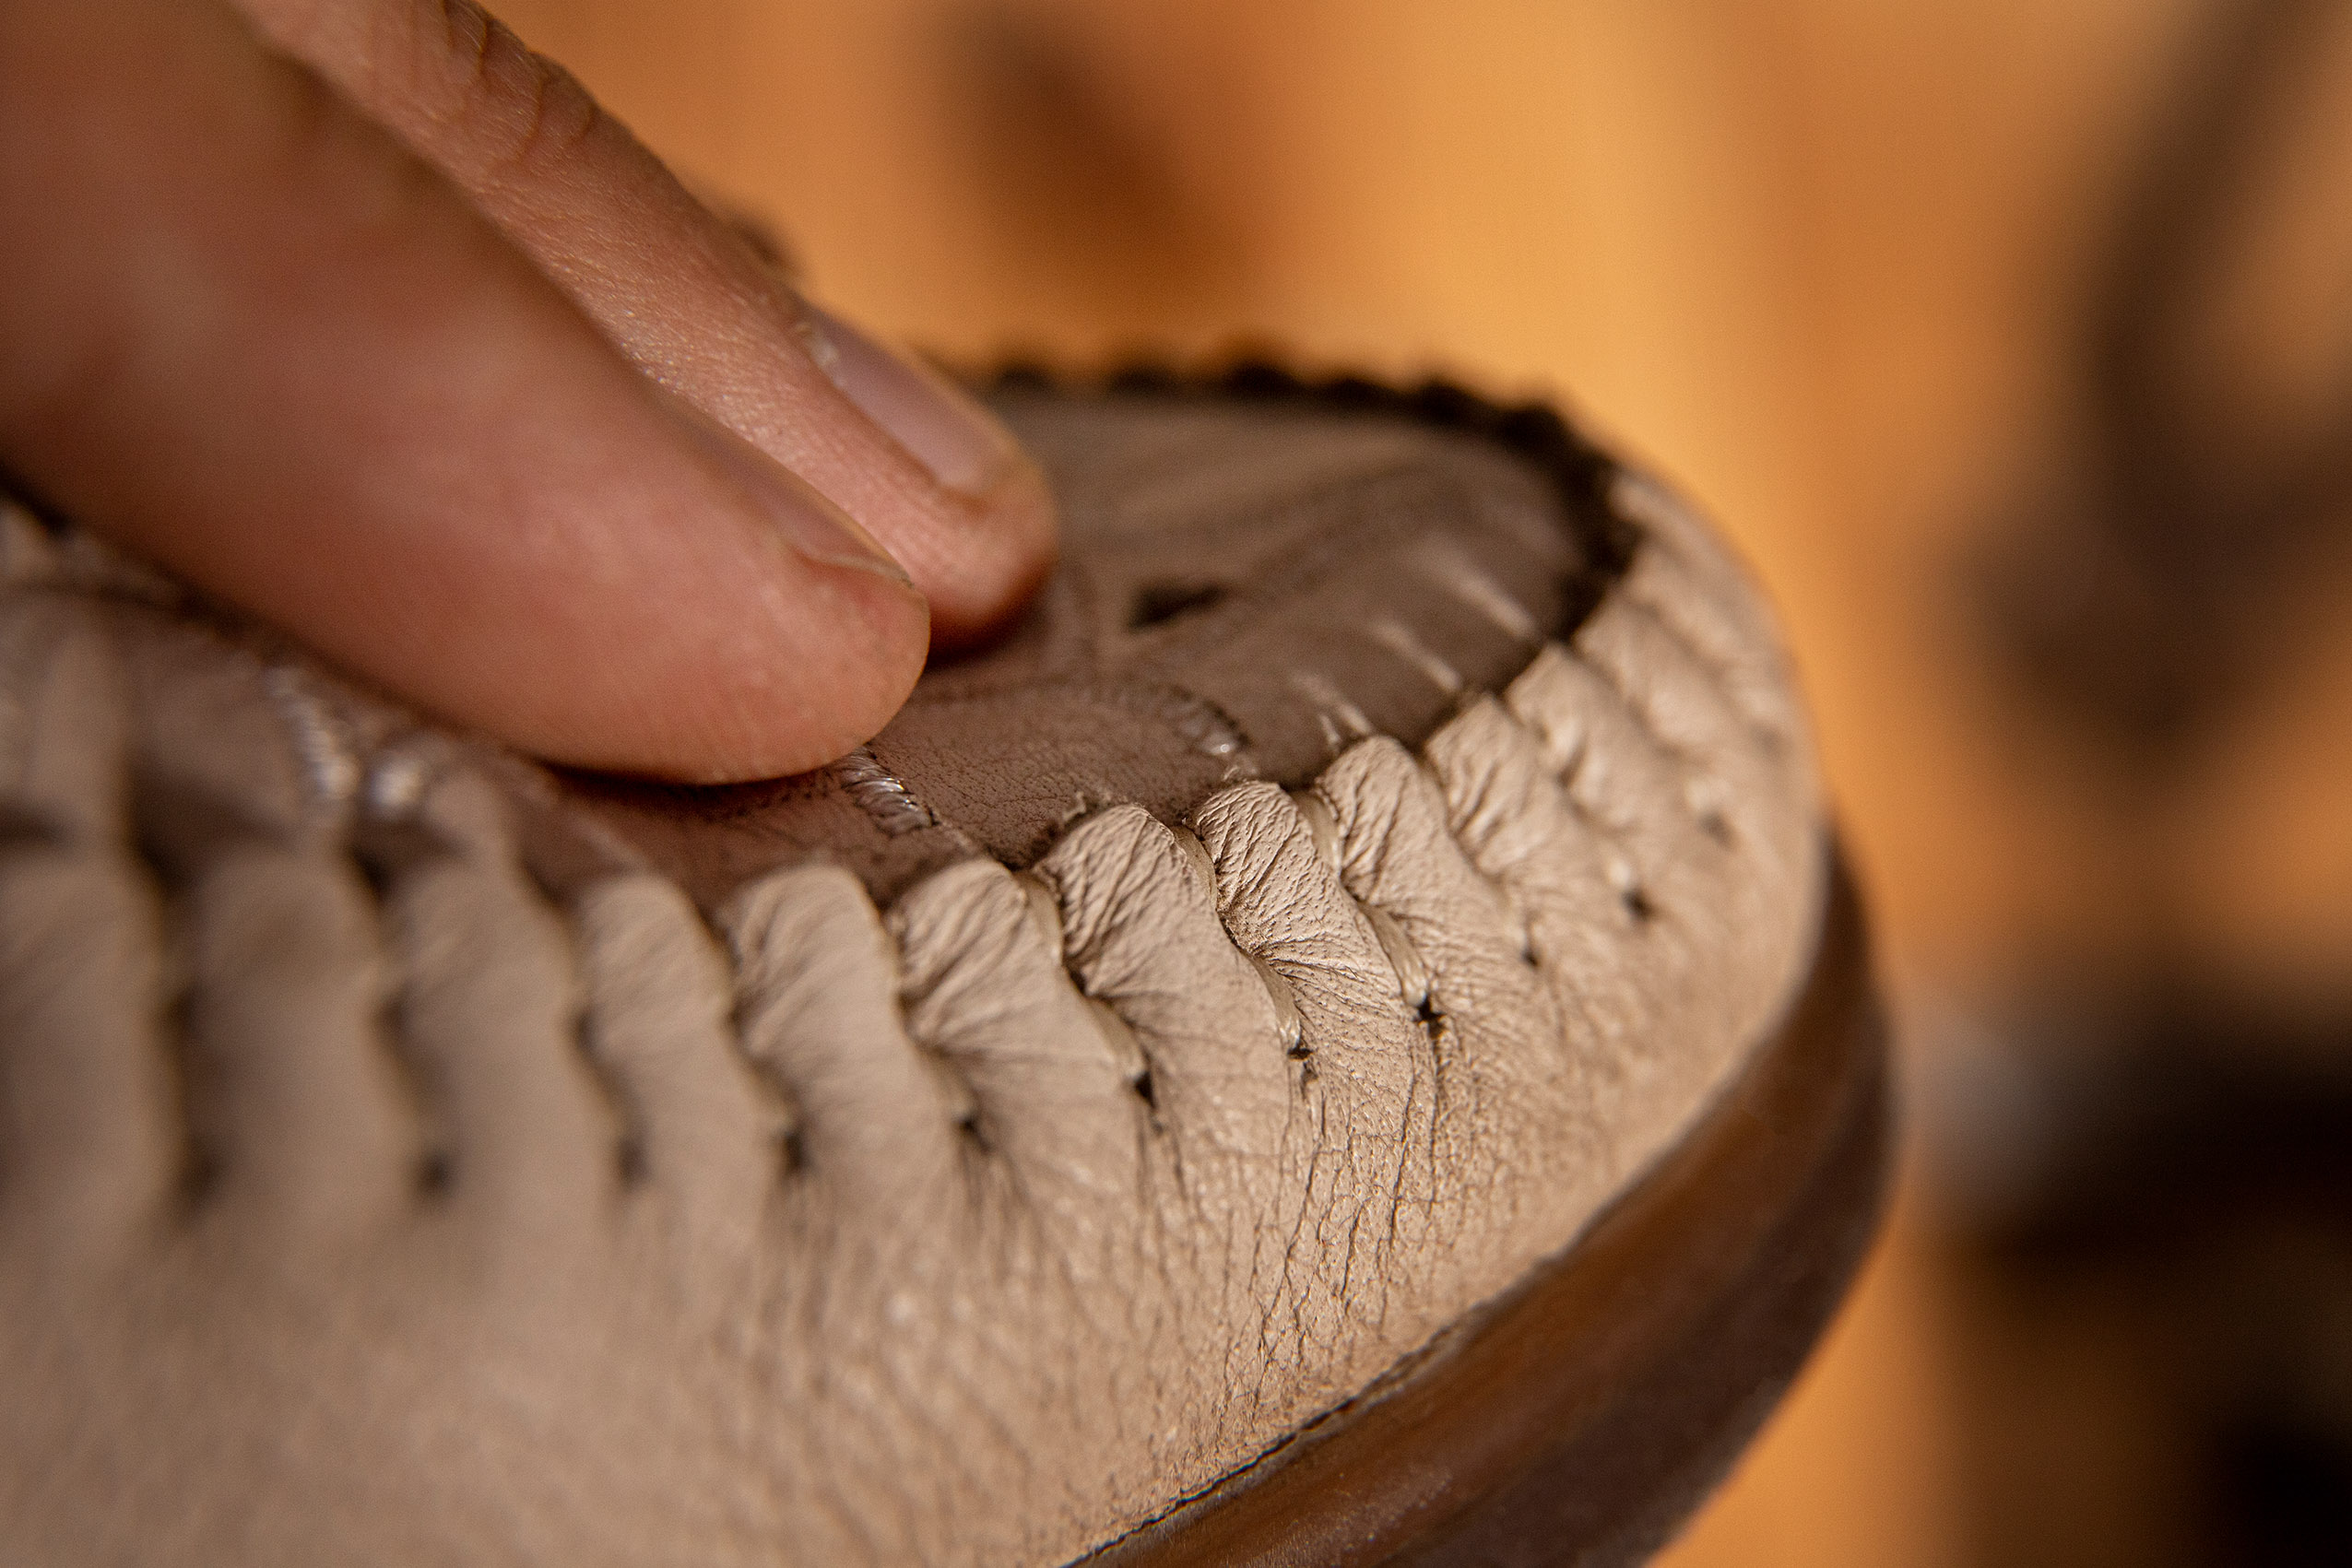
Appearance & workmanship: visual check for grain flaws, broken/skipped stitches, glue bleed-through, stains, stitch density; wear gloves and feel edges for sharpness that could cut the wearer.
Measurement: use a shoe gauge, size stick and caliper to measure internal length, last shape and key component dimensions, compare against tolerance, and screen for mismatched pairs and out-of-tolerance sizing.
Testing: run on-site functional/mechanical checks within the inspector’s scope — 90°/180° manual peel for de-bonding, hand-pull on stitching for strength, crockmeter dry/wet rub for colorfastness, and a wear-and-flex check for suppleness.
3. Top 10 Footwear Defects & On-Site Methods
These ten defects are the most frequent and most impactful in footwear inspection. Each is tagged with the on-site method, the tool used, and the AQL judgment level — all within what an inspector can judge on-site.
| # | Defect | On-Site Method | Tool | Level |
|---|---|---|---|---|
| 1 | Sole de-bonding / separation | Visual check at the joint; 90°/180° manual peel + spot-check with peel-strength tester; watch for full-panel separation or exposed yellow adhesive | Visual / peel tester | MAJ |
| 2 | Poor stitching (broken/skipped thread, uneven density) | Visual check of stitch continuity and back-tacking; hand-pull to test seam strength | Visual / hand-pull | MAJ |
| 3 | Poor colorfastness (crocking / migration) | Crockmeter dry/wet rub on upper and lining; check white cloth / white sock for staining | Crockmeter / visual | MAJ |
| 4 | Grain / leather flaws (hide defects, loose grain, cracking) | Visual check of grain uniformity, scars, coating cracks; flex to check loose grain | Visual / flex | MAJ |
| 5 | Upper damage / scratches / stains / glue bleed | Visual check of upper cleanliness and integrity; backlight to see glue bleed and strands | Visual | MIN |
| 6 | Size / measurement deviation (mismatched pairs, over-tolerance internal length) | Shoe gauge / size stick to compare internal length and last; spot-check same-size variance | Gauge / size stick | MAJ |
| 7 | Poor outsole abrasion / flex appearance (cracks, chipping) | Visual check of tread integrity and abnormal wear; full flex-fatigue performance must be sent to a lab | Visual / lab | MAJ |
| 8 | Carton marks / hangtag / packing errors (wrong size, mixed, short) | Tally quantity; verify carton marks and hangtag; check inner box and packing method | Visual / count | MIN |
| 9 | Style / model mismatch (wrong goods vs. sample) | Against approved sample and workmanship sheet, verify style, colorway, construction, left/right | Sealed sample / sheet | MAJ |
| 10 | Logo / colorway / workmanship vs. sealed sample | Visual compare to sealed sample; check logo position, embroidery/print clarity, color deviation | Sealed-sample visual | MAJ |
4. Three Checkpoints by Category
| Category | Top 3 Defects to Check | Key On-Site Action |
|---|---|---|
| Athletic / casual | De-bonding, colorfastness, EVA midsole yellowing | Peel test + dry/wet crock + visual midsole oxidation |
| Leather / dress | Grain flaws, poor stitching, size deviation | Grain visual + seam hand-pull + gauge compare |
| Safety shoes | Complete markings & docs, appearance/workmanship, wrong-goods | Document check + appearance visual + sample compare |
| Children’s shoes | Loose small parts, sharp edges, colorway shift | Pull test + gloved edge feel + sample compare |
| Sandals / slippers | Strap security, odor, size deviation | Strap pull + smell check + gauge compare |
5. AQL Defect Classification at a Glance
| Level | AQL | Defects Covered (inspector-judged) | Rule |
|---|---|---|---|
| CR Critical | 0 | Full-panel separation affecting wear, sharp edges that cut, severe left/right asymmetry — clear safety hazards | 1 found → whole lot rejected |
| MAJ Major | 2.5 | De-bonding, poor stitching, poor colorfastness, grain flaws, size deviation, wrong-goods, poor abrasion/flex appearance | Sample 80, accept 5 / reject 6 |
| MIN Minor | 4.0 | Slight scratches, logo skew, hangtag error, minor box damage | Sample 80, accept 7 / reject 8 |
6. Footwear Inspection Cost & Process
Third-party inspection is billed per man-day. Reference pricing for footwear:
| Service | Reference Price | Notes |
|---|---|---|
| Basic Inspection | from ¥550 / man-day | Sample selection, carton marks, packing, appearance & quantity check |
| Standard Inspection (recommended) | from ¥600 / man-day | Adds workmanship, measurement & on-site functional testing; report in as fast as 4 hours |
| Professional Inspection | from ¥800 / man-day | Includes style/sealed-sample comparison, measurement & improvement advice |
| Container Loading Supervision | per man-day, separate | Full supervision on the day of container loading |
FAQ
Q1: How many pieces are sampled for footwear inspection?
A: Per AQL General Inspection Level II (ANSI/ASQ Z1.4 / ISO 2859-1). For 500 pcs sample 50, 1,000 pcs sample 80, 3,200 pcs sample 125, 10,000 pcs sample 200. CR defects at AQL 0 (1 found rejects the lot), MAJ at AQL 2.5, MIN at AQL 4.0.
Q2: What does footwear inspection mainly cover?
A: Step by step per the 7-step on-site method — sample selection & count, carton marks, packing, style (wrong-goods vs. sample), appearance & workmanship, measurement (size/dimensions), and testing (de-bonding, colorfastness, stitching, etc., on-site functions). The core is a conformance check against the contract, spec sheet and approved sample.
Q3: Can an inspector judge de-bonding on-site?
A: Yes. On-site we do a 90°/180° manual peel + visual check at the joint, and spot-check with a peel-strength tester. Full-panel separation or exposed yellow adhesive is MAJ; widespread de-bonding affecting wear is CR.
Q4: How is colorfastness judged on-site?
A: On-site we use a crockmeter for dry/wet rub, then check a white cloth or white sock for staining. The full grading and migration test must be commissioned to a lab separately; the inspector simply verifies the accompanying report.
Q5: What is the difference between inspection, testing and certification?
A: Inspection checks, on-site against the contract, spec and approved sample, whether “this batch matches what was agreed” — count, carton marks, packing, style, appearance, measurement, testing. Testing covers lab parameters such as material composition, chemical safety and safety-performance specs — a separate activity. They complement, not replace, each other. See Inspection vs. Testing vs. Certification.
Q6: How much does footwear inspection cost, and how fast?
A: Standard from ¥600 / man-day. Typical rhythm: order today → inspect tomorrow → report within 4 hours after inspection; fastest 2 calendar days end-to-end.
ISO — Footwear standards (ICS 61.060): the international classification of footwear standards for sampling and conformance reference.
Standardization Administration of China (SAMR) — National Standards Portal: the official Chinese national standard query system (interface in Chinese) for verifying applicable GB standards.
China National Accreditation Service (CNAS): the accreditation body confirming a laboratory’s competence for the tests outside inspection scope.
Need footwear inspected?
Inspector Online’s 3,000+ inspectors cover manufacturing clusters such as Quanzhou / Wenzhou / Dongguan, respond within 30 minutes, and run the 7-step on-site check against your order and sealed sample — delivering a report in as fast as 4 hours.
→ Book an inspector and get a quote